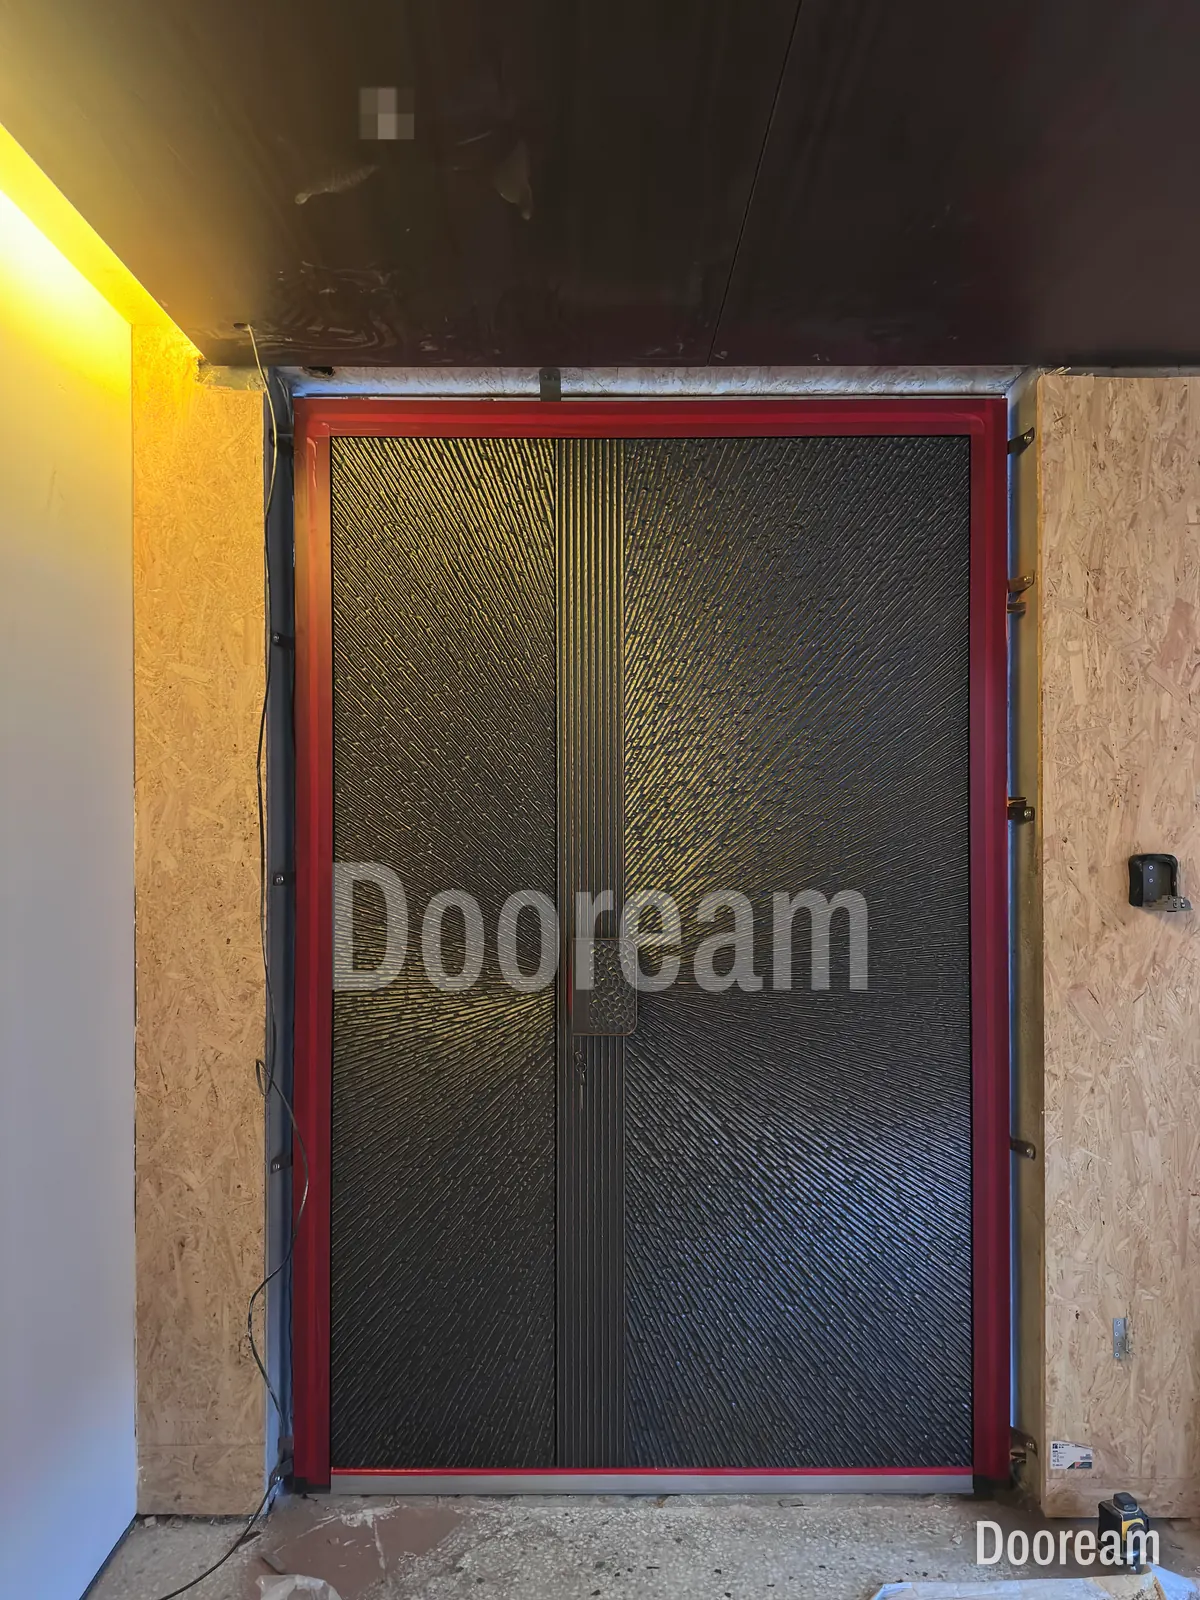
Short answer: a local installer fits it, from the door maker’s installation drawings and the hinge maker’s mounting manual. Before delivery, the opening, the structural head, the finished floor and any lock cable must be ready. On site the order is frame, floor plate, ceiling plate, leaf, top pivot and adjustment, then lock keeps and seals.
Who installs a large pivot door, and from which documents?
The buyer’s local installer, usually a door or joinery contractor, working with the builder and an electrician. The installer follows the door maker’s installation drawings, the hinge maker’s mounting manual and the lock maker’s instructions. If they disagree, ask the door maker before drilling.
| Who | Does what |
|---|---|
| Builder | Opening to the drawing, structural head, finished floor, weather protection |
| Electrician | Cable to the head for a wired smart lock |
| Installer | Unpacking, frame, plates, hanging, adjustment, keeps, seals, handover |
| Door maker | Installation drawings, site questions, photos before shipment |
What must be ready before the door arrives?
The opening, the head and the floor: built, measured and agreed in writing. A heavy leaf should go from crate to hinge in one planned operation, not wait in a corridor while the opening is corrected. Check before booking delivery:
- Opening checked against the drawing: width, height and both diagonals, from one datum marked on both sides.
- Head fixed to structure to take the top pivot’s sideways force, never a suspended ceiling (floor-to-ceiling pivot doors).
- Finished floor at its final level, solid at the floor plate (floor preparation), or a floor spring’s box set before the screed (box dimensions).
- Threshold or sill level across the whole swing (uneven floors).
- Lock power: a cable at the head, entering the leaf through the pivot; System M+ Class G and Reversed top pivots have a Ø7.5 mm cable entry (smart locks).
- Weather: roof on, wet trades and heavy finishes done, and a dry place to store the crate.
- Access: a route the crate fits through; crew and lifting gear booked.
How do you receive and unpack the crate?
Look the crate over before you sign for it, photograph everything as you open it, and compare the door with the photos and video sent before shipment. Then store the leaf flat, dry and supported along its length, still in its protective film until handover.
- Note crate damage on the delivery receipt, and keep the packing until any claim is settled (crating and shipping damage).
- Check the parts against the packing list.
- Unpack near the opening so the leaf moves once.
Which tools and equipment does the installer need?
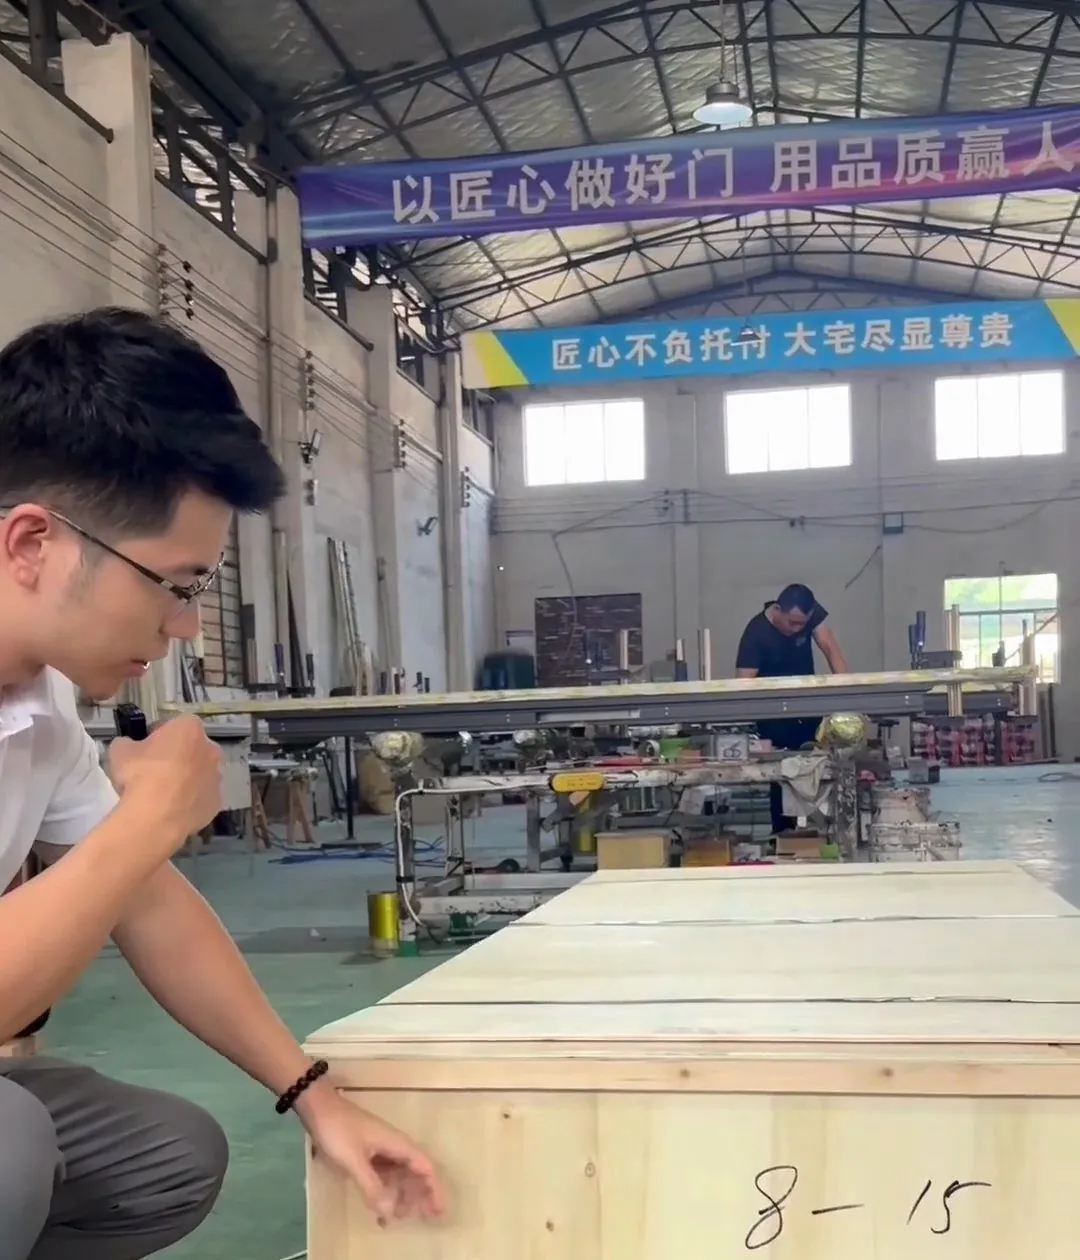
The hinge maker’s mounting kit, ordinary site tools and lifting aids. FritsJurgens’ milling and mounting manual for System M+ 70 mm Class F–G, its heaviest classes, shows them in pictures; page numbers below refer to it, and frame items follow the installation drawing.
| Item | Used for | Source |
|---|---|---|
| Drilling template, glue, screws, Torx bit, 3 mm and 5 mm Allen keys, adjustment card and spanner, spare 8 mm and 30 mm pins | Plates, top pivot, adjustment | FritsJurgens mounting kit, p. 20 |
| Cross-line laser or plumb bob, tape measure, square, pencil, tape | Marking the pivot axis | p. 21 |
| Drill, Ø8 and Ø7.5 mm bits, Ø18 mm spade or core bit, plugs | Plate fixings | pp. 28, 33, 36 |
| Soft-faced mallet, not a steel hammer | Seating the floor plate | p. 32 |
| Vacuum, cleaner and cloth | Cleaning before gluing | pp. 30–31 |
| Packers, level, frame fixings | Frame | Installation drawing |
How is a System M+ pivot door installed, step by step?
FritsJurgens gives four steps: mount the floor plate, mount the ceiling plate, place the door, fine-tune it. The sequence below adds the frame before them and the keeps and seals after. Page numbers refer to the 70 mm Class F–G manual.
- Fix the frame on packers, plumb and square to the datum, at the drawing’s fixing points; recheck the diagonals before foaming.
- Mark the pivot axis on the floor at P = B + E from the frame, pivot point plus side gap (p. 23), and transfer it to the head with a laser or plumb bob (pp. 24–25).
- Fix the floor plate. Drill through the template, Ø8 mm in steel or stone or Ø7.5 mm in wood, 8 mm deep for standard pins or 30 mm for long pins on layered floors (pp. 27–29). Vacuum, clean, apply about 1 mm of glue and tap the plate home (pp. 30–32).
- Fix the ceiling plate in a Ø18 mm hole 20 mm deep (p. 33), glued and held by two screws, plugged in stone or straight into timber (pp. 34–36).
- Set the hand. Set the spindle for the opening direction before the leaf goes on (p. 37). If the leaf comes off again, refit it the same way; FritsJurgens’ 40 mm set manual warns that otherwise “the system will not function correctly”.
- Stand the leaf on the floor plate. The manual shows two people tilting it on (p. 42).
- Extend the top pivot into the ceiling plate: eight full turns of the 5 mm Allen key (p. 43).
- Align. Rotate a squared or round floor plate up to 2.5° each way until the closed leaf is parallel to the wall, then move the top pivot until the seam is even (pp. 44–47). Flush plates do not rotate.
- Set the movement with the adjustment card and spanner: Damper Control (opening damping, soft close), 30° Speed Control (the last 30° of closing) and, on a latching door, Latch Control (pp. 49–52). Turn in small steps; pp. 53–54 reset factory settings.
- Fit the lock keeps in head and floor or sill once the leaf is final; bolts should engage without force.
- Fit the seals and drop seal. A drop seal needs a Flush floor plate and should meet the sill along its length (sealing pivot doors).
- Finish the frame joint; leave the film on until handover.
How do you lift and handle a heavy leaf?
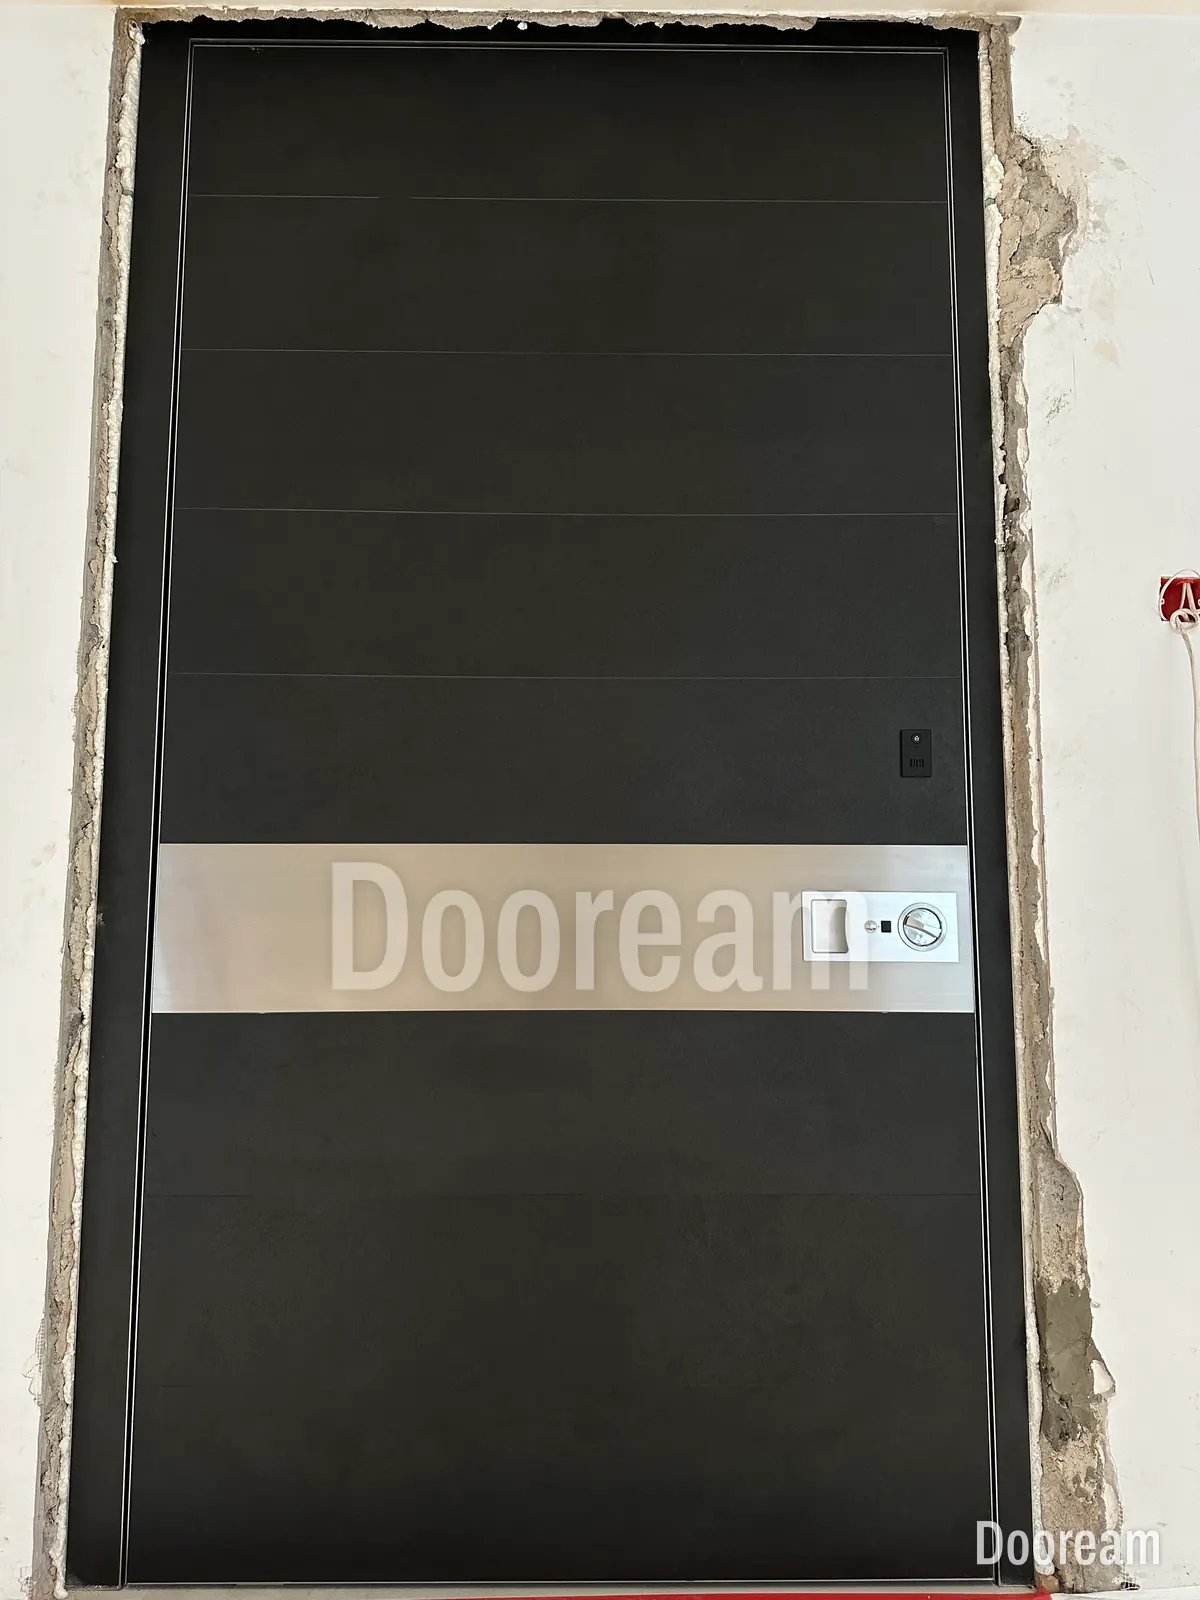
As a planned lift. Get the leaf weight from the drawing and choose the crew and equipment before delivery day. HSE’s low-risk lifting filter is 25 kg for men and 16 kg for women, close to the body between knuckle and elbow height, and HSE says these are not safe limits.
- Team lifts need their own assessment. HSE suggests a team can handle about 85% of the sum of its members’ capabilities, says teams of more than four rarely work unless managed very carefully, and wants one person in charge.
- Use aids: a door trolley, hoist or vacuum lifter. HSE asks for good vacuum between pads and load; a carved or cast relief may give pads nothing to seal on (size and weight).
- Protect the face: film on, padded blocks, never set down on a corner.
Which checks and tolerances apply?
FritsJurgens’ System M+ technical documentation (04/2026) gives the gaps and adjustment ranges. Larger errors must be corrected in the frame or the plate positions, because adjustment cannot absorb them. Check the gaps with the door closed and again at 90°.
| Check | Target or range | Source |
|---|---|---|
| Top gap | 4–10 mm, “beware of sagging” | Technical doc. p. 24 |
| Bottom gap | 11 mm (squared or round plate), 7 mm (Flush) | p. 24 |
| Side gaps | Gap Calculator, by leaf thickness and pivot point | p. 25 |
| Leaf parallel to wall | Floor plate rotates 2.5° each way; Flush: none | pp. 20–21 |
| Even closing seam | Top pivot moves 5 mm each way | pp. 12–13 |
| Pivot axis plumb | Laser or plumb bob, floor to head | Manual p. 25 |
| Movement, single-acting | Holds at 0° and 90°, self-closes from 125° | p. 5 |
What happens at handover?
Test the door, clean it, hand over the documents and photograph it for the record. Do it with the owner or main contractor present, and take the protective film off only now, so a scratch found later can be traced.
- Test: open from several angles and let it close; check it latches, holds open at 90°, and the seals and drop seal touch evenly. Try every way the lock opens, including the mechanical key.
- Clean: remove the film, then clean as in our maintenance guide.
- Documents: installation drawings marked up as built, the hinge manual and adjustment card, lock manuals and codes, and the warranty start date.
- Photos: both faces, the gaps, both plates, labels and the lock edge, for later questions about movement or damage.
Which mistakes cause problems later?
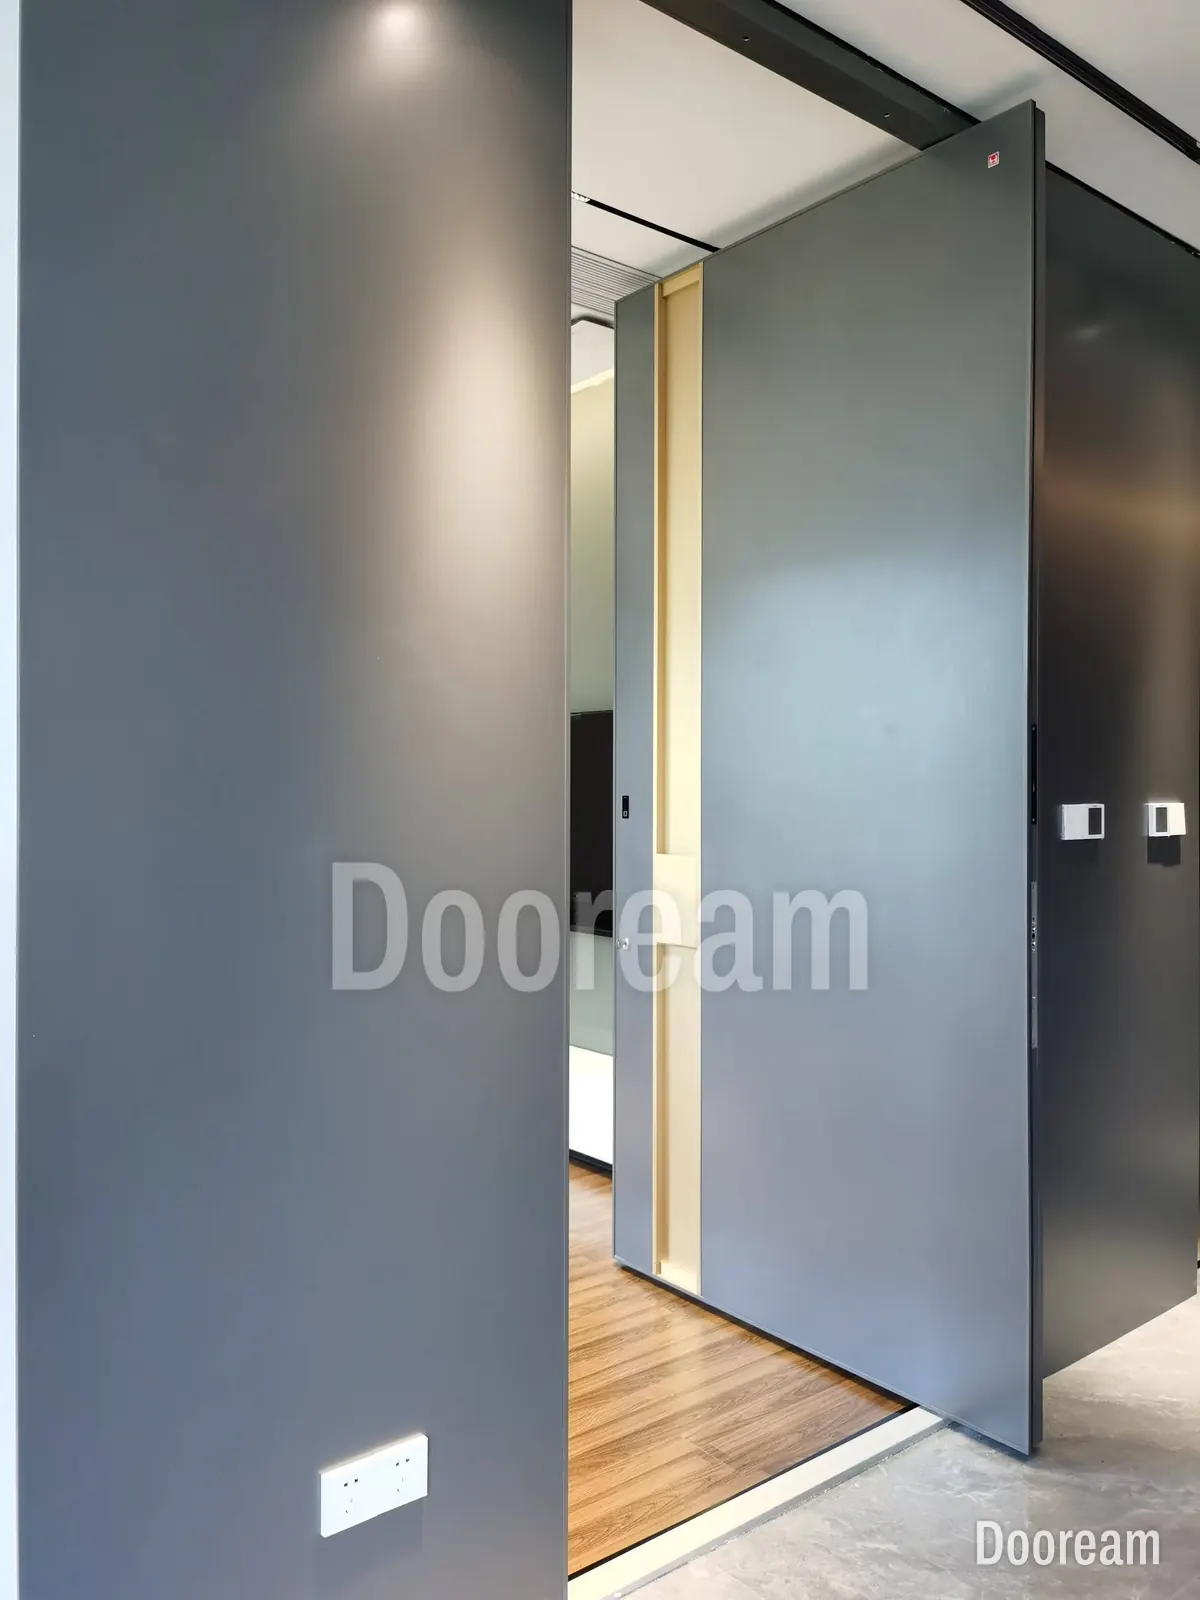
Most come from hanging the door too early or on an axis that is not plumb, then expecting adjustment to cure it. The hinge adjusts by a few millimetres and degrees only, so the frame, the plates and the floor must be right first.
- Hanging the leaf before heavy finishes, so the head sags or the floor rises into the gaps.
- Fixing the floor plate to a screed or tile that is not the final floor.
- A standard floor plate with a drop seal; FritsJurgens says drop seals need a Flush plate.
- Big turns on the adjustment screws; FritsJurgens’ 40 mm set manual says about 10 degrees at a time.
How does this work with Dooream?
We make pivot doors up to 4,000 × 8,000 mm on FritsJurgens pivot hinges. We do not send installation crews: your local installer fits the door from our installation drawings, with our remote guidance. Doors are packed in blankets, foam and a wooden crate. We send photos and video of the finished door before shipment. Our warranty runs two years from shipment. See our page for architects or contact us.
Sources, checked November 2026 (printed page numbers): FritsJurgens, System M+ technical documentation (04/2026), milling and mounting manual System M+ 70 mm Class F–G, System M+ 40 mm set manual (06-2023) and pivot door installation videos and manual; HSE, Manual handling at work: a brief guide (INDG143 rev4, 2020), pp. 6–8, Manual handling, L23 (fourth edition, 2016), paragraphs 147–150 and vacuum lifting equipment.
Quick answers
Who installs a pivot door bought from a factory abroad?
Usually the buyer's local door installer. They work from the door maker's installation drawings, the pivot hinge maker's mounting manual and the lock maker's instructions. We do not send installation crews; your installer fits our doors from our installation drawings, with remote guidance from us.
What are the steps to install a FritsJurgens pivot door?
FritsJurgens gives four steps for System M+. Mount the floor plate, mount the ceiling plate, place the door and fine-tune it. Before that the frame is fixed and the pivot axis marked plumb from floor to head. After it come the lock keeps, the seals and drop seal, and a final check of gaps and movement.
How many people does it take to lift a heavy pivot door leaf?
It depends on the leaf weight, so get it from the drawing first. HSE's low-risk filter for one man lifting close to the body, between knuckle and elbow height, is 25 kg, and team lifts need their own assessment. HSE suggests a team can handle about 85% of the sum of its members' capabilities, and teams of more than four rarely work unless managed very carefully. Heavy leaves need lifting aids.