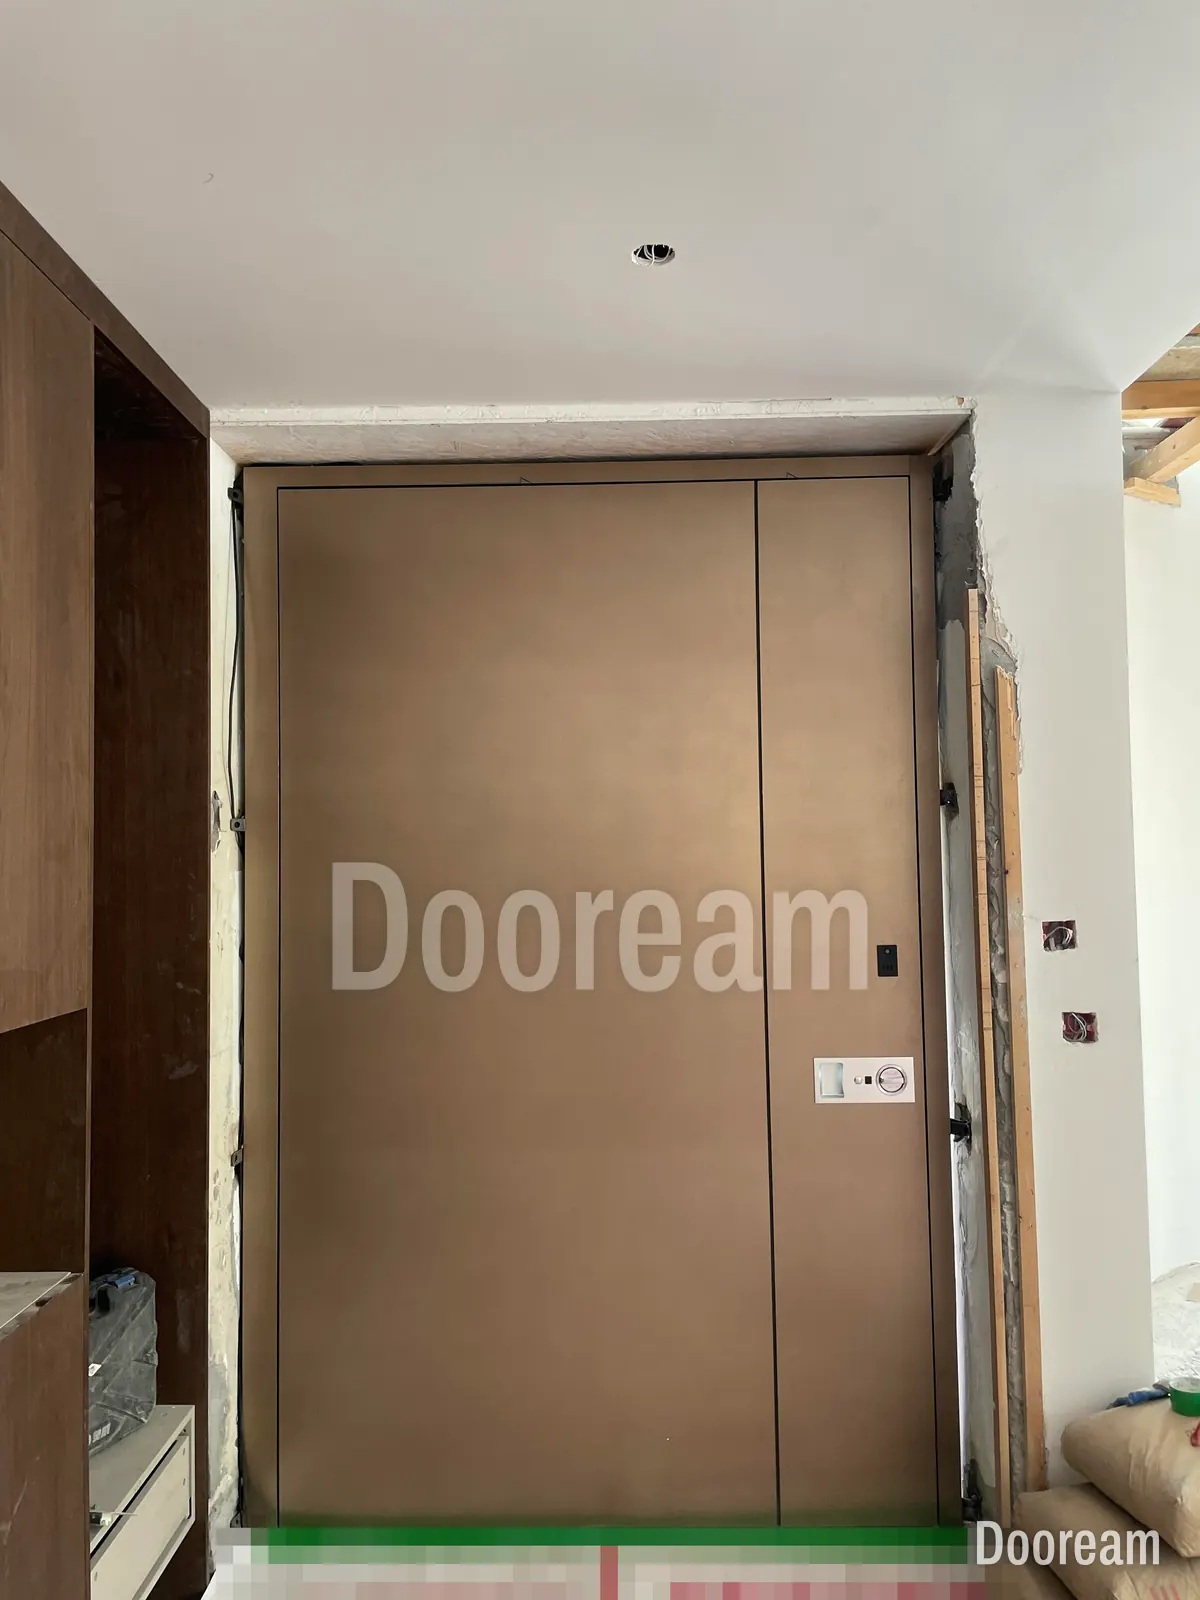
Short answer: work in stages and sign each one off before the next: site ready, crate checked, frame set, leaves hung, lock and seals working, handover. Most faults on a heavy imported door start with a frame out of plumb or square, or fixed to something that cannot hold it; hinges adjust only a few millimetres. If something does not fit, photograph it and ask the factory before you cut or drill.
What does the checklist look like, stage by stage?
Six stages, for hinged single, double and unequal double doors. Use the table as the sign-off sheet; the sections below cover the stages where most problems start. For setting pivot hinges, follow how to install a pivot door in place of the leaf stage.
| Stage | Check | Pass criterion |
|---|---|---|
| Before delivery | Opening against the drawing | Widths, heights and diagonals recorded from one datum |
| Before delivery | Structure at each fixing | Solid structure behind every fixing and hinge |
| Before delivery | Floor | Finished levels marked on both sides |
| Before delivery | Lock power | Cable at the drawn point, isolated and labelled |
| Before delivery | Route and lifting | Route fits the crate; crew and lifting aids booked |
| Delivery | Crate and contents | Damage noted on the receipt and photographed; packing list complete |
| Frame | Plumb, level, square | Both jambs plumb both ways, head level, diagonals equal, no twist |
| Frame | Fixings and joint | Mechanical fixings into structure; diagonals rechecked before foam |
| Leaves | Gaps and alignment | Gaps even on every edge; meeting faces flush; leaf tops level |
| Leaves | Fixed leaf | Top and bottom bolts shoot into their keeps without force |
| Lock | Every mode | All modes work with the door closed |
| Seals | Water | Seals unbroken; dry inside after a hose test |
| Handover | Finish and documents | Clean, film off, owner shown, documents handed over |
What must be ready before the crate arrives?
The opening, the structure behind it, the floor, the lock power and a way in for the crate. Check the opening again while the door is in production, so there is time to correct it. A heavy leaf should go from crate to frame in one planned operation.
- Opening: widths at three heights, heights at both jambs and the centre, both diagonals, from one datum (measuring an opening); if an old door comes out first, see replacing a villa front door.
- Structure: concrete, solid masonry or steel at every fixing point and behind each hinge; in hollow block or a stud wall, a steel sub-frame (hinges and frame fixing).
- Floor: finished levels both sides, marked from the same datum; for a pivot, the floor prepared (pivot floors).
- Lock power: for a wired lock, a cable at the point the drawing shows (smart locks).
- Route and lifting: check doorways, stairs and turns against the crate size and gross weight on the packing list. HSE’s lifting filter for one person, close to the body between knuckle and elbow height, is 25 kg for men and 16 kg for women; HSE says these are not safe limits, and team handling needs its own assessment.
What should you check when the crate is delivered and opened?
Look at the crate before you sign for it. Write any damage on the delivery receipt and photograph it before opening. Then photograph as you unpack, check every item against the packing list, and compare the door with the photos and video sent before shipment (crating and damage).
- Unpack beside the opening, so each leaf moves once.
- Lay leaves on padded supports, film on, never on a corner.
- Keep mortar, plaster and brick-cleaning acid off the faces; Stegbar, an Australian window and door maker, warns that spills not washed off at once cause permanent damage.
How do you set the frame plumb, level and square?
Stand it on packers at the datum, check both jambs for plumb in both directions, the head for level and the two diagonals for equality, and only then fix it. On a heavy door the frame decides how the leaves hang, and hinge adjustment cannot cure a racked frame.
Use these published figures as references; the installation drawing comes first:
| Check | Published figure | Source |
|---|---|---|
| Frame plumb | Within 5 mm over the frame height, not out of plumb in two directions | NHBC Standards 9.1.4, UK new homes |
| Squareness, plumbness, alignment, twist | 1/16 in (1.6 mm) each | ANSI/SDI A250.11-2026, US steel frames |
| Leaf hang | Within ±1.5 mm per metre of vertical | MBIE guide to tolerances (2015), New Zealand homes |
| Double leaves, closed | Faces within ±3 mm of the same plane | MBIE (2015) |
NHBC’s 5 mm is a housing acceptance limit, not a target.
- Fixings: mechanical, into structure, through packers, at every point on the drawing and at each hinge. Packers stop a fixing pulling the frame out of line.
- Spacing: for windows and doors in new UK homes, NHBC asks for all four sides secured where practical, corner fixings 150–250 mm from the external corner, at least two fixings per jamb and sill, and intermediate fixings at no more than 600 mm centres.
- Foam is not a fixing: ISO-Chemie, citing the RAL installation guide, says fixing “must take place by mechanical means”.
- While foam or grout sets: keep spreaders in or the leaves closed; A250.11 warns that grout pressure must not deform the frame.
- Wall joint: the German RAL installation guideline seals it in three levels: airtight on the room side, insulation in the middle, and outside protection from driving rain, wind and UV that still lets water drain and moisture escape.
How do you hang and adjust the leaves of a double door?
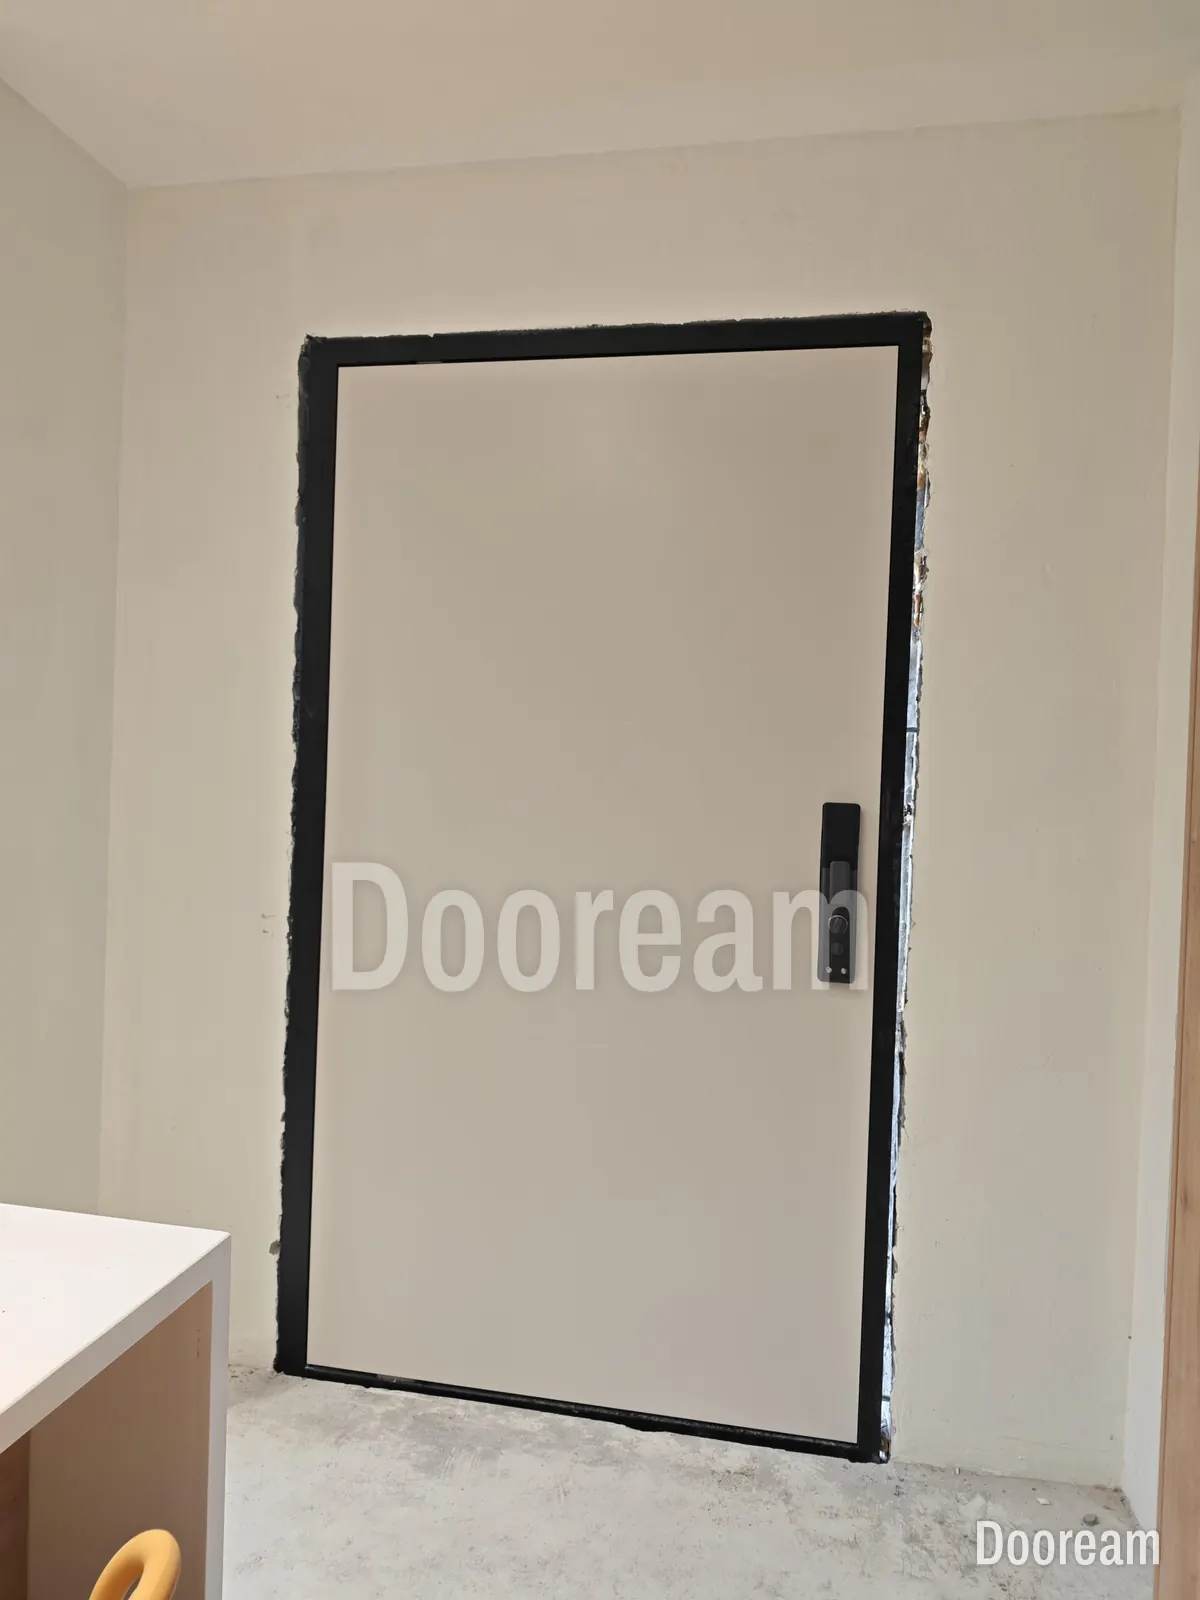
Hang the fixed leaf first, bolt it top and bottom and set it to the frame. Then hang the everyday leaf and adjust it to the fixed one. Check the gaps with the door closed and again open, and adjust in small steps.
- Gaps: even along the head, both jambs and the meeting edge. A gap closing towards the top of the lock edge means the leaf is dropping, often from a fixing that has moved.
- Meeting edge: faces flush, leaf tops level with each other, and a carved or cast pattern lining up across the seam.
- Flush bolts: the fixed leaf’s bolts shoot into the head and floor keeps without force; keep the floor keep free of grit (active and passive leaves).
- Unequal pairs: recheck the top-hinge fixings of the wide, heavier leaf before handover.
How do you connect and test a smart lock?
Follow the lock maker’s manual, then test every way in and out with the door closed on its seals, not standing open. A lock that works on an open leaf can bind once the seals push back on its bolts and locking points.
- Battery lock: fit the batteries and check the low-battery warning.
- Wired lock: power off while connecting; route the cable through the cable transfer on a hinged door, or the pivot on a pivot door, so nothing is pinched in a gap.
- Test: each credential (fingerprint, PIN, card, app), the inside handle, the mechanical key and any emergency power. Every locking point should engage without force.
- Codes: delete installer codes and enrol the owner’s at handover.
How do you check the seals, threshold and water?
Check that the seal runs as one unbroken loop, the drop seal touches the sill across its full width and the jamb-to-sill corners are sealed. Then hose-test from the bottom up, with someone watching inside, before floor finishes cover the tray. Method: threshold leaks and seals.
What belongs in the handover?
A clean, tested door, an owner who has been shown how it works, and a document set. Do it with the owner or main contractor present, and take the protective film off only now, so a scratch found later can be placed before or after handover.
- Clean: as the door maker’s care instructions say.
- Film: never leave it past its maker’s limit. Stegbar’s limit is 90 days from delivery; ask your door maker for its own.
- Demo: every lock mode, battery change, the key, the flush bolts and the seasonal checks (maintenance schedule).
- Documents: installation drawings marked up as built, lock and hinge manuals, codes, the warranty start date and your photo record.
What should you photograph and send the factory if something does not fit?
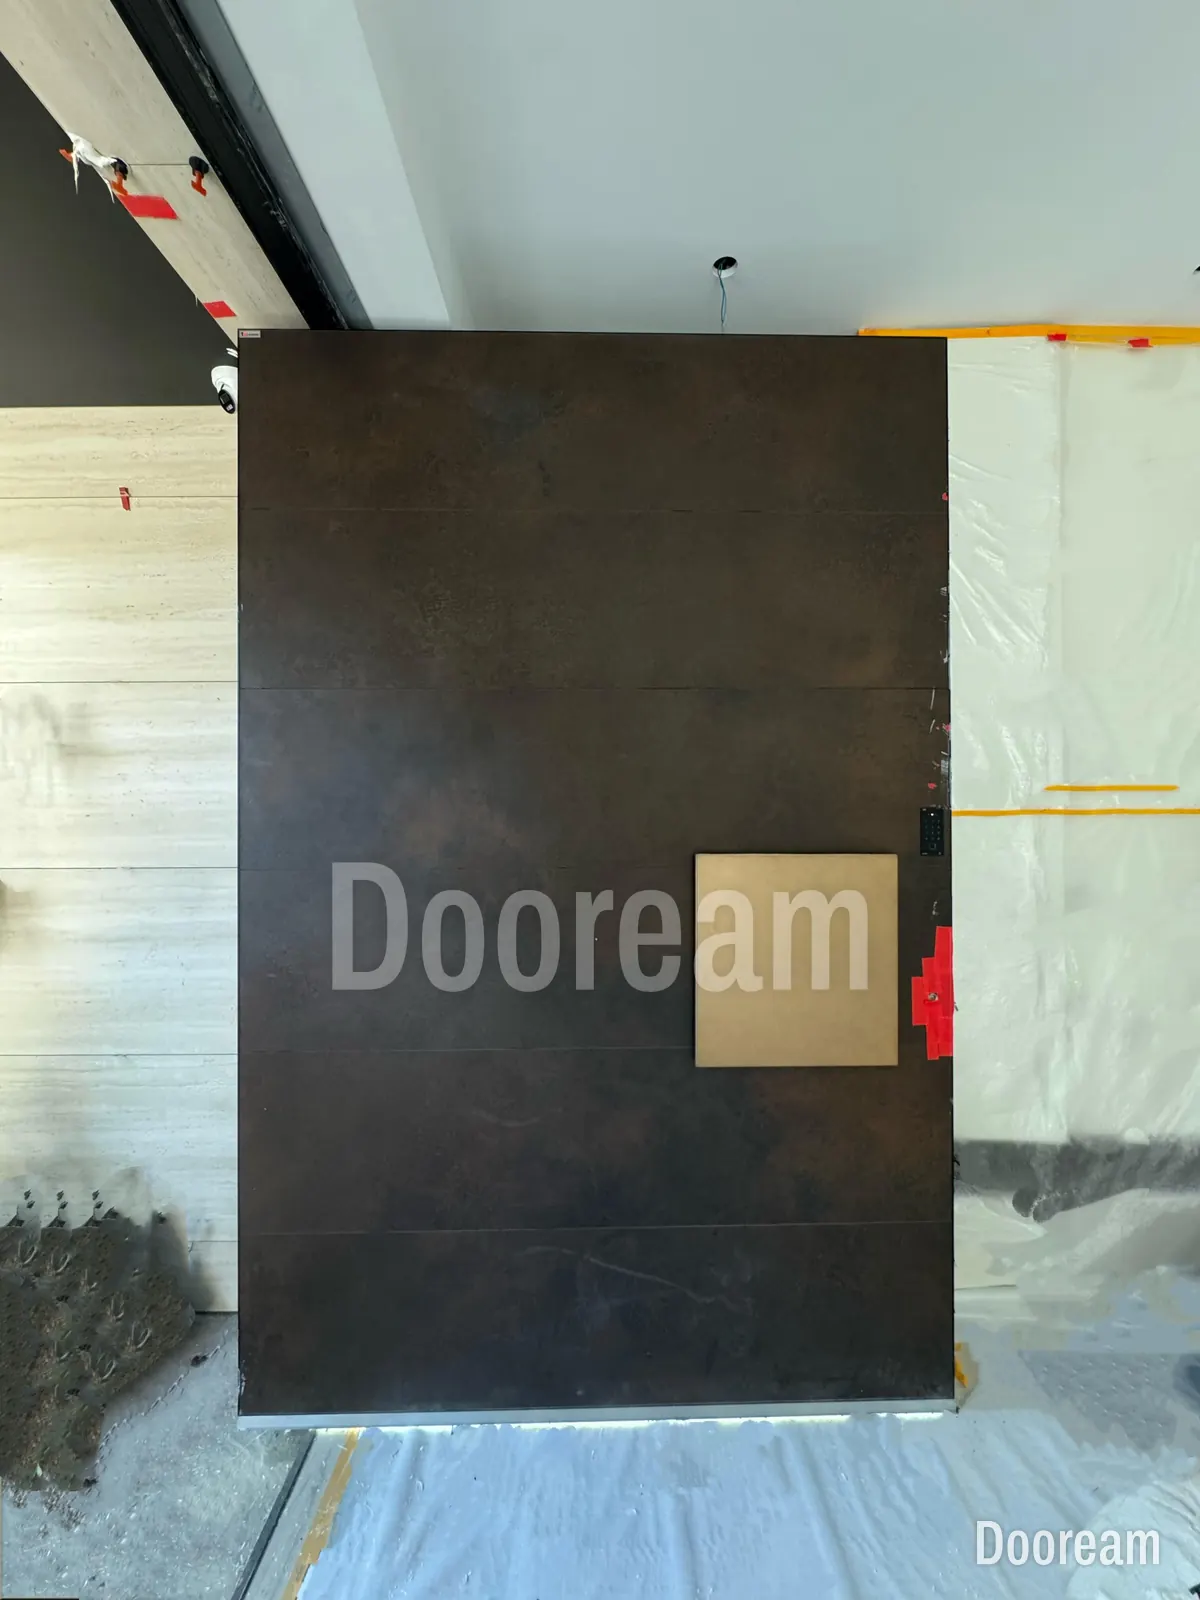
Enough for someone abroad, who cannot visit, to see the problem and its cause. Send it before you cut, drill or re-hang anything that is not on the drawing, because a site fix can make the factory’s own fix harder or impossible.
- Order number, door ID and the problem in one sentence.
- The whole door, straight on, from both sides.
- Measurements with the tape in the shot: widths, heights, diagonals, frame and leaf.
- Gaps at the top, middle and bottom of every edge.
- A level or laser line on each jamb and the head, and the floor levels on both sides.
- Close-ups of the part that does not fit, labels included.
- Crate damage and the delivery receipt, if relevant.
- A short video of the door opening, closing and locking.
How does this work with Dooream?
We supply installation drawings with each order and give remote guidance; your local installers fit the door, and we do not send crews. We send photos and video of each finished door before shipment, for comparison on site. Our double doors hang on heavy-duty hinges, concealed on some models; pivot doors run on FritsJurgens pivot hinges; smart locks come from KFV, G-U or Wintech. Warranty: two years from shipment. See our page for architects or contact us.
Sources, checked November 2026: NHBC Standards, 9.1.4 doors and windows and 6.7.11 installation (pages updated January 2024); Steel Door Institute, ANSI/SDI A250.11-2026, recommended erection instructions for steel frames; MBIE, guide to tolerances, materials and workmanship in new residential construction (2015), p. 41; HSE, manual handling at work: a brief guide (INDG143 rev4, 2020); Teroson, window connection joints; ISO-Chemie, mechanical mounting; Stegbar, installation information for windows and doors.
Quick answers
What must be ready on site before a heavy entrance door is delivered?
The opening checked against the approved drawing, with widths, heights and both diagonals read from one datum; solid structure or a steel sub-frame behind every fixing; the finished floor levels known; any lock cable in place; and a route, crew and lifting aids for the crate. If these are not done, a heavy leaf waits on site while the opening is corrected.
How plumb and square does an entrance door frame need to be?
As the installation drawing says, first. Published figures differ widely: NHBC accepts a frame within 5 mm of plumb over its height in new UK homes, while ANSI/SDI A250.11-2026 allows 1/16 in (1.6 mm) for squareness, plumbness, alignment and twist on US steel frames. Equal diagonals are the simplest check for square.
What should an installer send the factory if the door does not fit?
The order number, door ID and the problem in one sentence; the whole opening and door from both sides; measurements with the tape in the shot; the gaps at the top, middle and bottom of every edge; a level on each jamb; floor levels; close-ups; any crate damage; and a short video of the door and lock working. Send them before cutting or drilling anything that is not on the drawing.